Wireless
CloudyCam typically relies on wireless connectivity to quickly transfer photos from:
- Camera to laptop, using an in-camera Wi-Fi SD card and the laptop's built-in Wi-Fi hardware
- Laptop to Cloud, using a USB-tethered phone over venue Wi-Fi or 4G/LTE
The following describes a typical setup that works in most venues:
Camera-to-Laptop
FlashAir Wi-Fi SD Card
- Order the W-04 64GB card online | Amazon USA
- First, update the card to the latest firmware using the FlashAir W-04 Update Tool
- Second, configure the card using a SD Card Reader with the FlashAir Config Software after reviewing the installation manual and perform the steps 3-6 below:
- Invoke the FlashAirTool utility to configure the following:
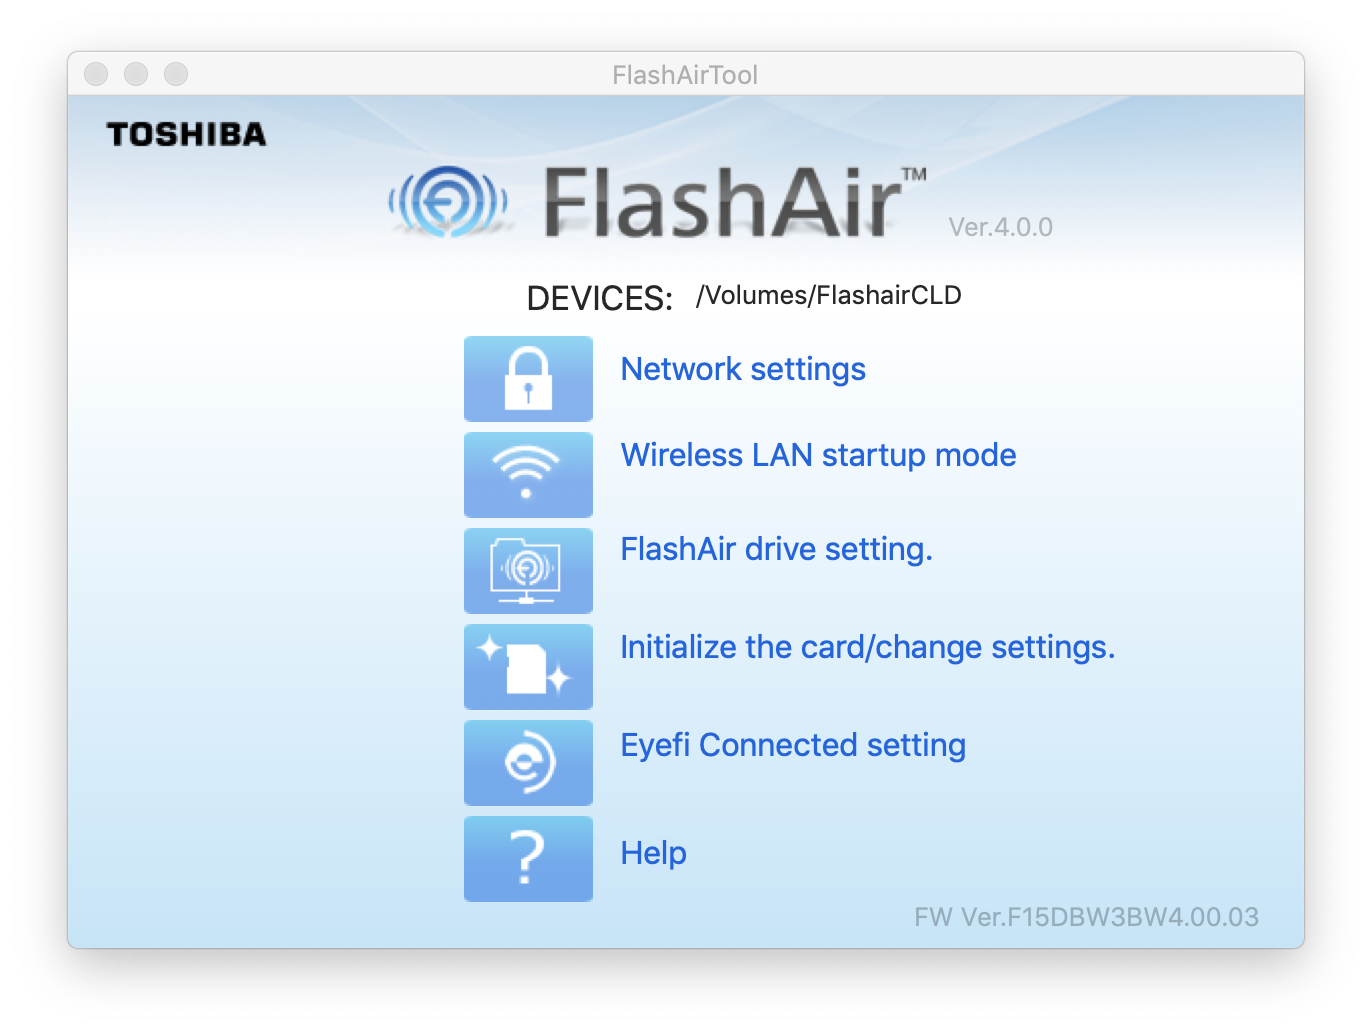
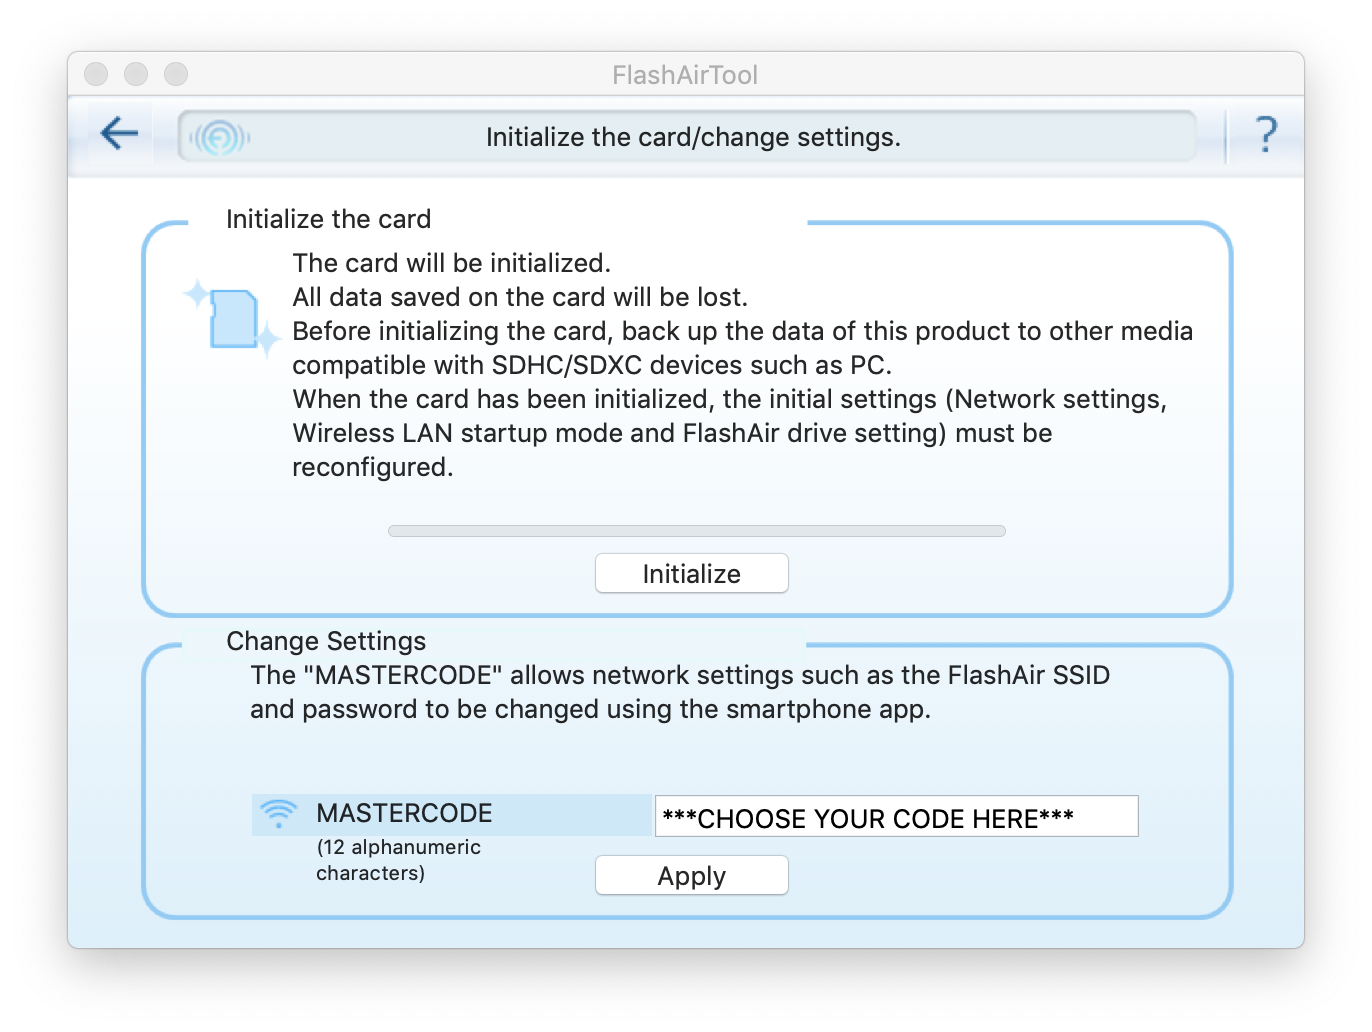
- Optionally, set the mastercode (12 chars) for the phone app:
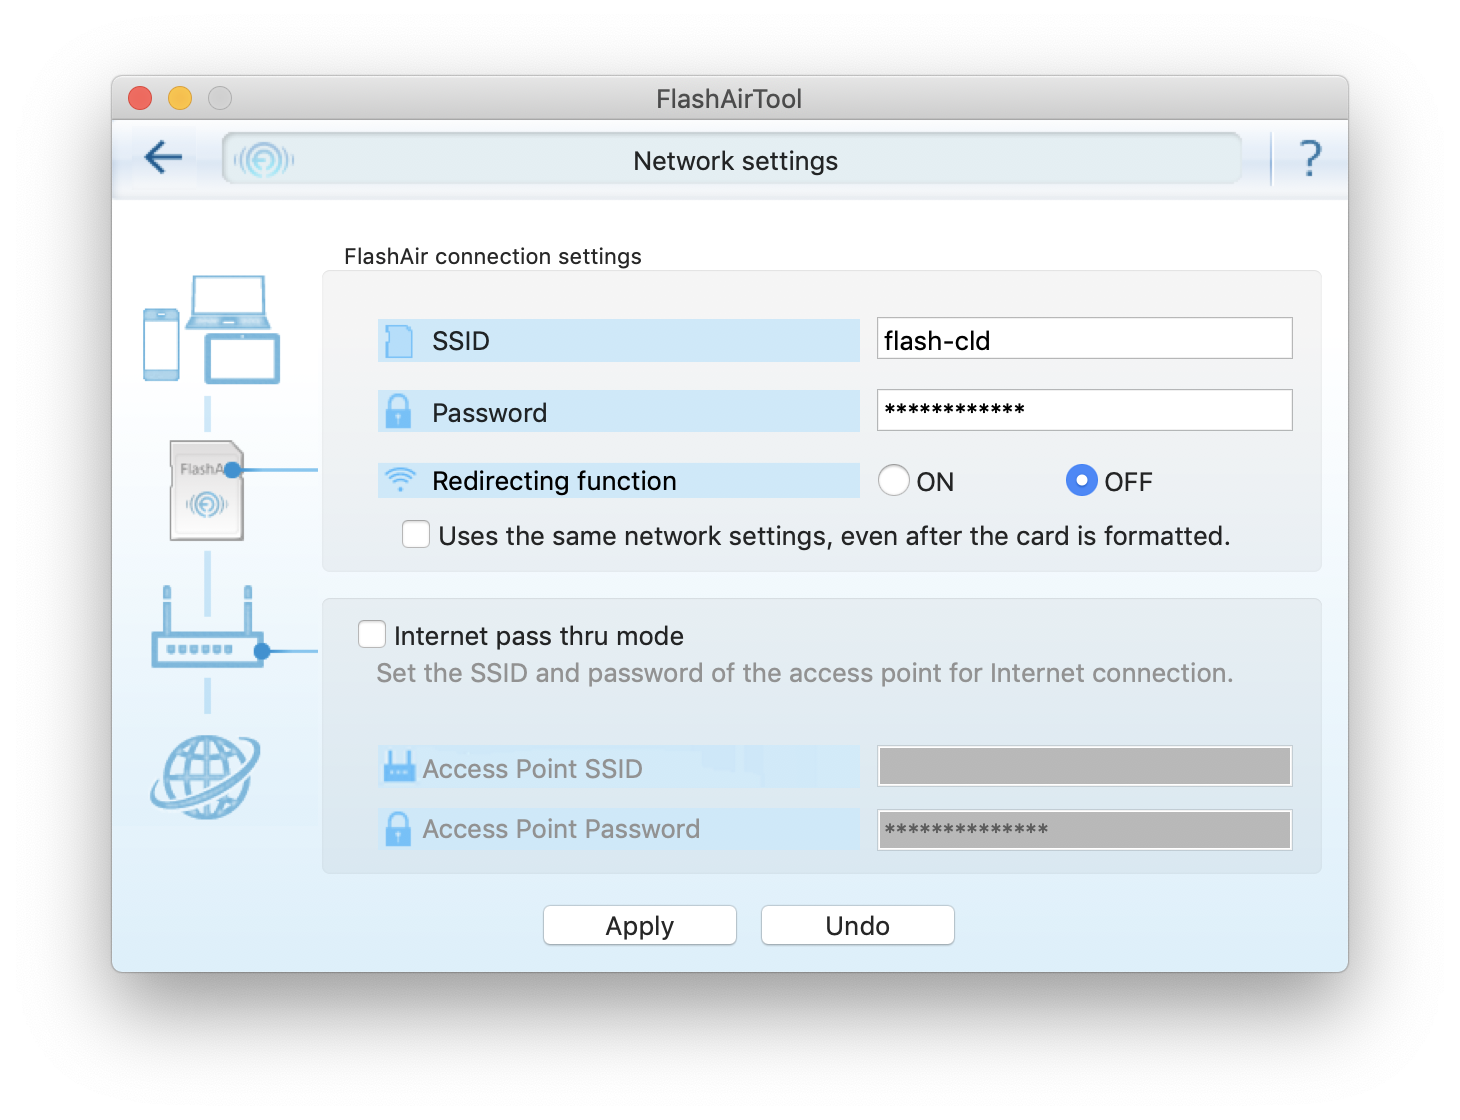
- Set the SSID and password for the Wi-Fi connection settings:
- Set the EyeFi Connected setting to ON to avoid Wi-Fi sleep issues:

Getting Connected
Insert the FlashAir card into the appropriate slot in the camera and turn it on, making sure to set the camera's airplane mode in the menu to off. The card should show as flash-cld in the laptop's list of Wi-Fi access points. If you don't see flash-cld on the list, try to turn the camera off and on again (and do the same with the laptop Wi-Fi on/off).
🦊 BATTERY POWER
The FlashAir card tends to drain the camera battery rather quickly in airplane mode off. When the battery level is low, the camera often turns off the FlashAir connectivity, hence it's a good idea to:
- Turn off the camera when portraits aren't actively being taken (and when photos aren't downloaded via FlashAir to the laptop)
- Keep a couple of spare batteries charging throughout the event (to allow for quick swapping as camera battery power goes low)
Yokin's FlashAir Sync
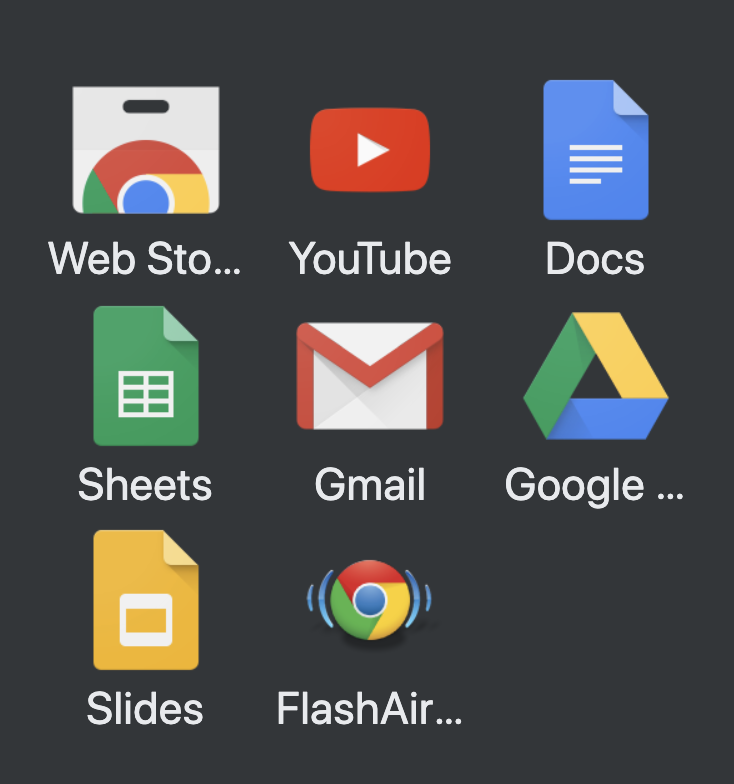
Photos can be quickly transferred from the FlashAir card to the laptop over the established Wi-Fi connection. The UI for doing that is conveniently available via Yokin's FlashAir Sync, a FlashAir client and downloader installed as a Chrome App utility. Launch the utility from the browser via the chrome://apps URL:
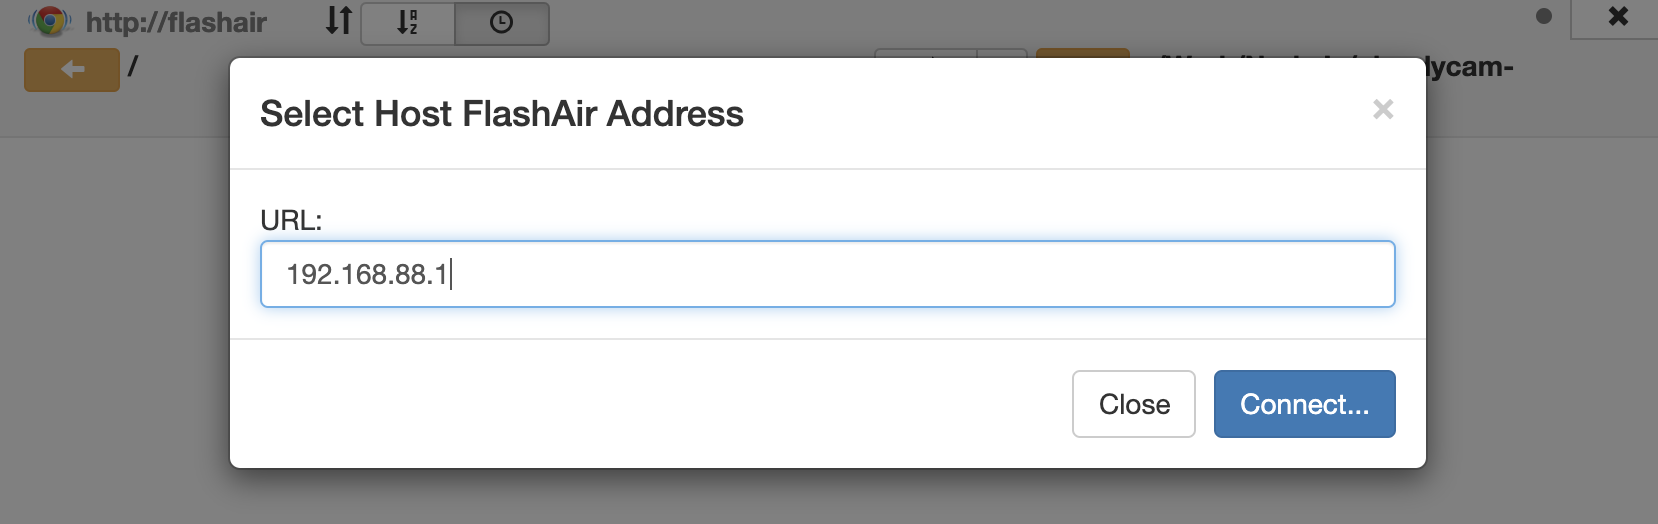
and configure the Host FlashAir Address (by default http://flashair) to the card's IP address set via the FlashAir Tool settings.
🦊 HOST MAPPING
You can leave the default as http://flashair by adding the line 192.168.88.1 flashair to /etc/hosts file
As the photographer snaps portraits, new thumbnails will appear in the Yokin app. Click the down arrow icons on the thumbnails to download full-res photos from the camera to the designated laptop folder (...cloudycam-monorepo/UPLOAD)
🦊 TRANSFER SPEED
The FlashAir card transfers data much faster when in close proximity to the Wi-Fi connected laptop. Hence, even tho the portrait thumbnails typically show up promptly, it is better to download the photos when the camera is as close as possible to the laptop. That is especially true when there are a lot of people around as the Wi-Fi signal degrades rather quickly with distance.
Laptop-to-Cloud
USB-tethered iOS or Android Phone
Since the laptop's built-in Wi-Fi hardware serves as wireless client to the FlashAir access point (inside the camera), the laptop has to connect to the cloud (e.g. for uploading photos to Cloudinary) using alternative means. There are primarily two options to achieve this - using a USB Wi-Fi Modem/Dongle or via a USB-tethered phone (iOS or Android). An example for the second (tethered phone) approach looks like this:
![]()
← ⚙️ ZEIT NOW 🧐 GOTCHAS →